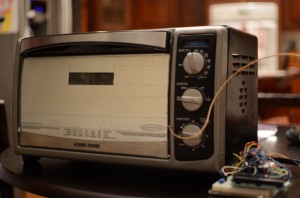
 I’ve recently redesigned my Retro WiFi Radio project to include some “extra” functionality and the design requirements required some tiny spacing of the components in addition to some tiny SMD parts. While I’m all for hand soldering SMD when needed, I wasn’t looking forward to attempting this board build by hand…I really needed to look for a better, faster and more reliable way to solder SMD boards. I’d read articles from Adafruit and some other sites about utilizing electric skillets to re-flow boards but I’ve also read plenty that say it’s not the ideal way to re-flow. I even went as far as to “Watch” some eBay listings for a few cheap Chinese re-flow ovens. I knew folks had been having lots of luck using a PID controller and a toaster oven and after reading reviews about those cheap Chinese re-flow ovens, I figured my $50 investment in a toaster oven from wally world would be the safest gamble. I knew I wanted a toaster with no digital controls (easier to hack up, I suspected) and dual top and bottom heating elements. I also had read some good reports using toaster ovens with a fan which supposedly prevented hot/cold spots in the oven. I found a Black and Decker at Wal-Mart for about $40 that fit the bill perfectly so I made the plunge, I sure hope it would reach high enough temps fast enough to hold a good re-flow profile…. The first test for the toaster before tearing it apart was to ensure it’d get hot enough without any modifications.
 My particular oven has both a “Baking” and “Toasting” settings with the difference being the “Baking” setting enables the convection fan. I tested the oven in both settings to ensure it’d easily exceed the required 250C my lead-free profile would require for re-flow. It didn’t take any time at all for the toaster to exceed my temperature requirements in both settings. Looks like I got myself a champ here folks! Given the fact that I had already purchased an appropriate solid state relay for a different project and I had a spare Arduino laying around, I knew I could quickly throw together a PID controller and test the toaster’s ability to hold a profile. I used a sketch from these great folks (which they use for their Arduino re-flow shield) and an LCD display I had laying about. I had a working PID controller in about 45 minutes. So far, this project was looking like it was going to be super easy! Why hadn’t I done this before? Using my Fluke meter (with temp probe), I manually charted the temperatures of 3 re-flow runs and while not as accurate as an industrial re-flow oven, I think it’ll do just fine. My first few boards worked perfectly and I must say, it’s WAY faster and easier than soldering by hand! Bring on those 0603 resistors now!
Update:
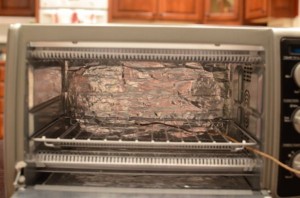
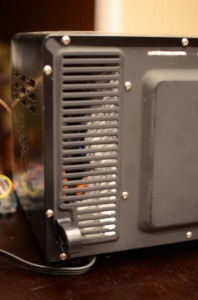
Not one to leave good enough alone, I decided there were a few easy things I could do to improve the responsiveness of the toaster and help it follow my profile more accurately. Here’s what I did to the toaster to “improve” it and the results. 1. Added reflective “flue tape” to the inside of the toaster’s internal metal walls (back wall and bottom with ceramic fill inside cavity) as well as the glass front door (minus the “peep” window). 2. Filled internal voids with ceramic fiber insulation wool. Got some cheap from eBay
Unaltered Toaster:
Time to 250C (Toast Setting): 3:41.3 Time to 250C (Bake Setting): 6:46.9
“Improved” Toaster:
Time to 250C (Toast Setting): 2:25.8 Time to 250C (Bake Setting): 3:53.6

Leave a Reply
You must be logged in to post a comment.