This year's indoor AVR powered jack-o-lantern
So I was waiting for this time of year when I first built my “Fake-fire LED” boards last year and now it’s finally here!
I’ve been running this jack-o-lantern for about 20 days now (this board is running off 3xAA alkaline batteries) and the LEDs seem to be doing just fine, the effect is fantastic and I couldn’t be happier with the new power-saving firmware I put on the AVR to help with battery life. I keep this one indoors but I plan on putting another board in a real pumpkin I’m carving tonight and putting it outside, I think the effect will be even better with a carved pumpkin. Can’t wait! I’ll update this post with pictures of it when it’s done!
I highly recommend this project, it’s a fantastic way to get started with understanding AVRs and the possible power saving modes, I’ve learned so much from this project and it’s super quick to put together on protoboard…
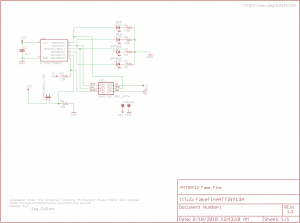
For next year’s version, I’ll be addressing that pesky constant current draw for the photocell to extend the battery life even more (recommendations are most welcomed). I’ve posted high-resolution schematics below but you can find all the source code and eagle files in the zip file attached to this post.
Have a Safe and Happy Halloween everyone!

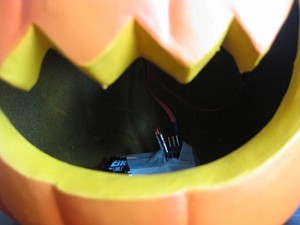
Close up of the tiny board and battery holder. Next year I plan on hiding this better.

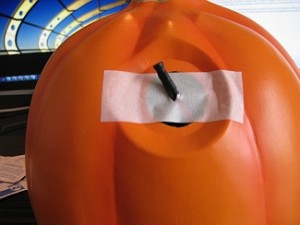
Here I've just run the photocell out the back of the plastic jack-o-lantern.


Leave a Reply
You must be logged in to post a comment.